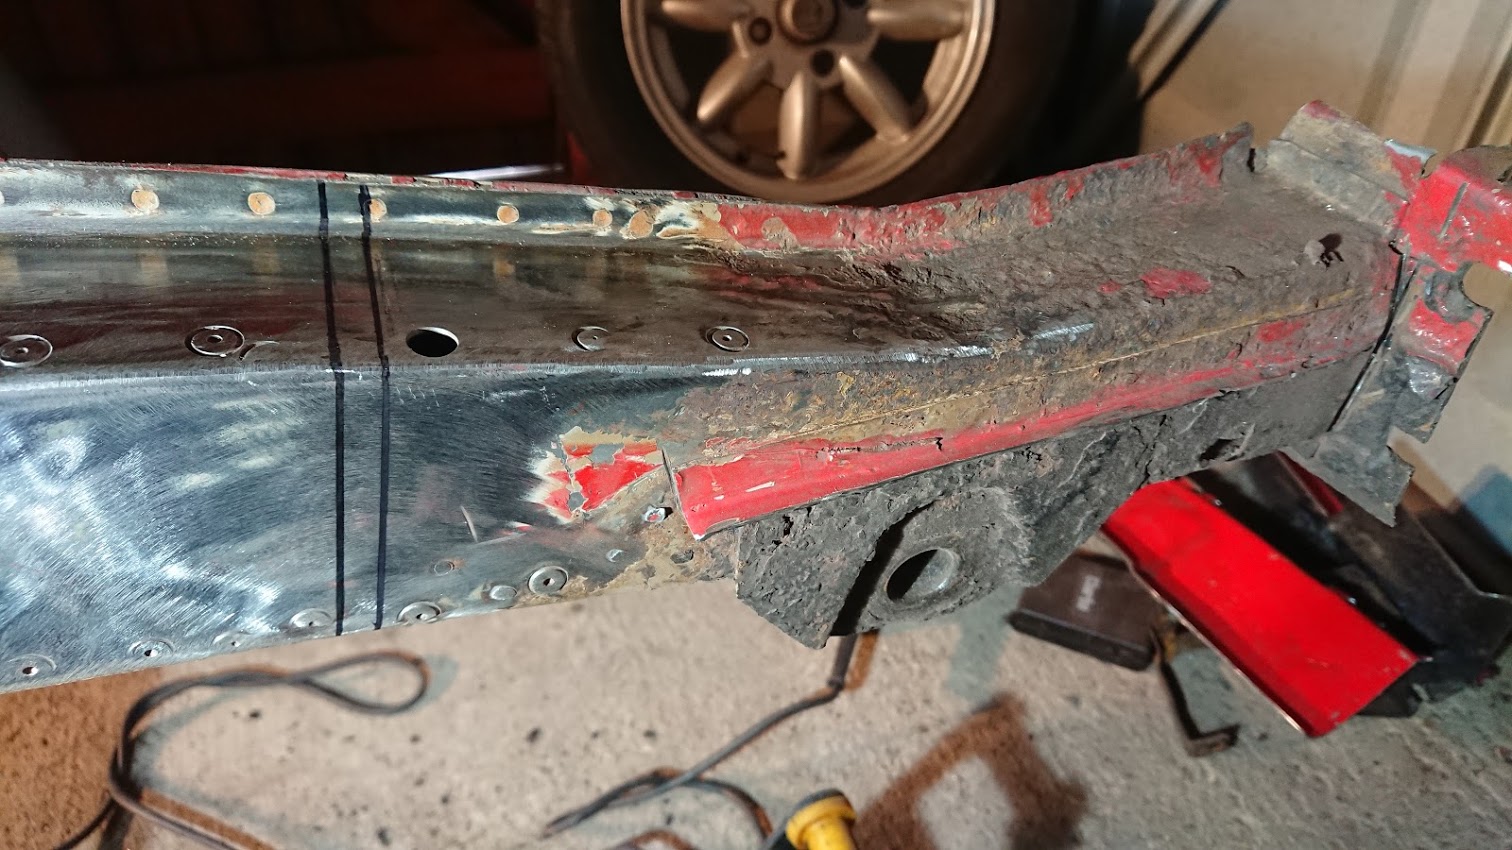
With a free weekend ahead of me I decided to carry on with the chassis leg repair, and first order of business was to finally remove the rotten part of the old one. As mentioned in the first part, I only wanted to use as much of the new panel as necessary to get back to good metal, so in the end I cut off around 10 inches of the old piece, and then very carefully trimmed the new part to the correct length. In this picture I had cut flanges on the end of the old panel as I was hoping to joggle them to get a slight overlap and possibly a stronger joint, but the metal was unfortunately a bit too thick for my joggling tool, so had to cut them off.

After a lot of painstaking measuring and test fitting with various other panels I got it all clamped together and ready to weld. I’ve left just enough of the old rear valance in place to help with the relative positioning of the chassis repair, so I used that as an additional clamping point.

I welded a straight seam weld along both sides of the join, just to make sure it was as strong as possible, and then cleaned up the outer weld with a flap disc to make it look more presentable. I was a bit worried about getting this weld right given its structural importance, but I’m very happy with how it turned out.

Next step was to fit the closing panel to the outer side, and this turned out to be a bit more fiddly than I expected. Perhaps because this was a Heritage part and the main box section was Steelcraft, there were very minor differences that made it difficult to get a good fit. I ended up enlarging the hole around the spring hanger mounting slightly to create a bit of room for adjustment and it eventually all lined up. Here it is with holes punched along both edges, all ready for welding.

With the steel being quite thick in these sections it was an absolute breeze to weld it up quickly, and then I took all the welds back again with the flap disc.

A quick coat of primer and it all looks as good as new. Really glad to have got that job out of the way!

There were still a few hours left in the weekend, so I actually had time for a bit of bonus work, so I fitted the remaining inner rear wing / C-post panel that I hadn’t yet got round to. I was originally planning to leave this until after I had fitted the main rear wing, so that I had better access to the wing/roof joint for welding, but I’ve now come to the decision that I’m going to need to replace the roof at some point anyway, and it wouldn’t make a lot of difference, so on it went. That’s probably the most new metal I’ve managed to attach in a single weekend so far, hopefully I can keep it up!
